

JSGDCPUMP · OEM purchasing resources
Micro Pump Test Reports: A Buyer’s Review Guide
A useful micro pump test report connects a specific sample configuration to a defined test setup, measured results and acceptance criteria. Before approving an OEM pump, check that those conditions represent the job your equipment needs it to do.
This guide helps you review a report already received. To plan the tests themselves, use the Micro Pump Sample Validation Checklist.
Start with the Decision the Report Supports
Are you confirming a sample’s flow under load, checking leakage, reviewing an operating cycle or assessing long-term durability? These are different decisions. A report can be useful for one and insufficient for another.
Read the scope before the pass/fail statement. Check whether the document contains measured results, a proposed test method or a specification requirement. A requirement to complete a test is not evidence that it has been completed.
Seven Checks Before Accepting a Report
| Check | Look for | Question to resolve |
|---|---|---|
| 1. Sample identity | Full model, revision, serial or sample ID, motor, voltage, materials and control method. | Does the tested configuration match the sample or production version being approved? |
| 2. Operating point | Flow recorded together with actual pressure or vacuum, medium and temperature. | Are flow and pressure simultaneous measurements, or separate endpoint ratings? |
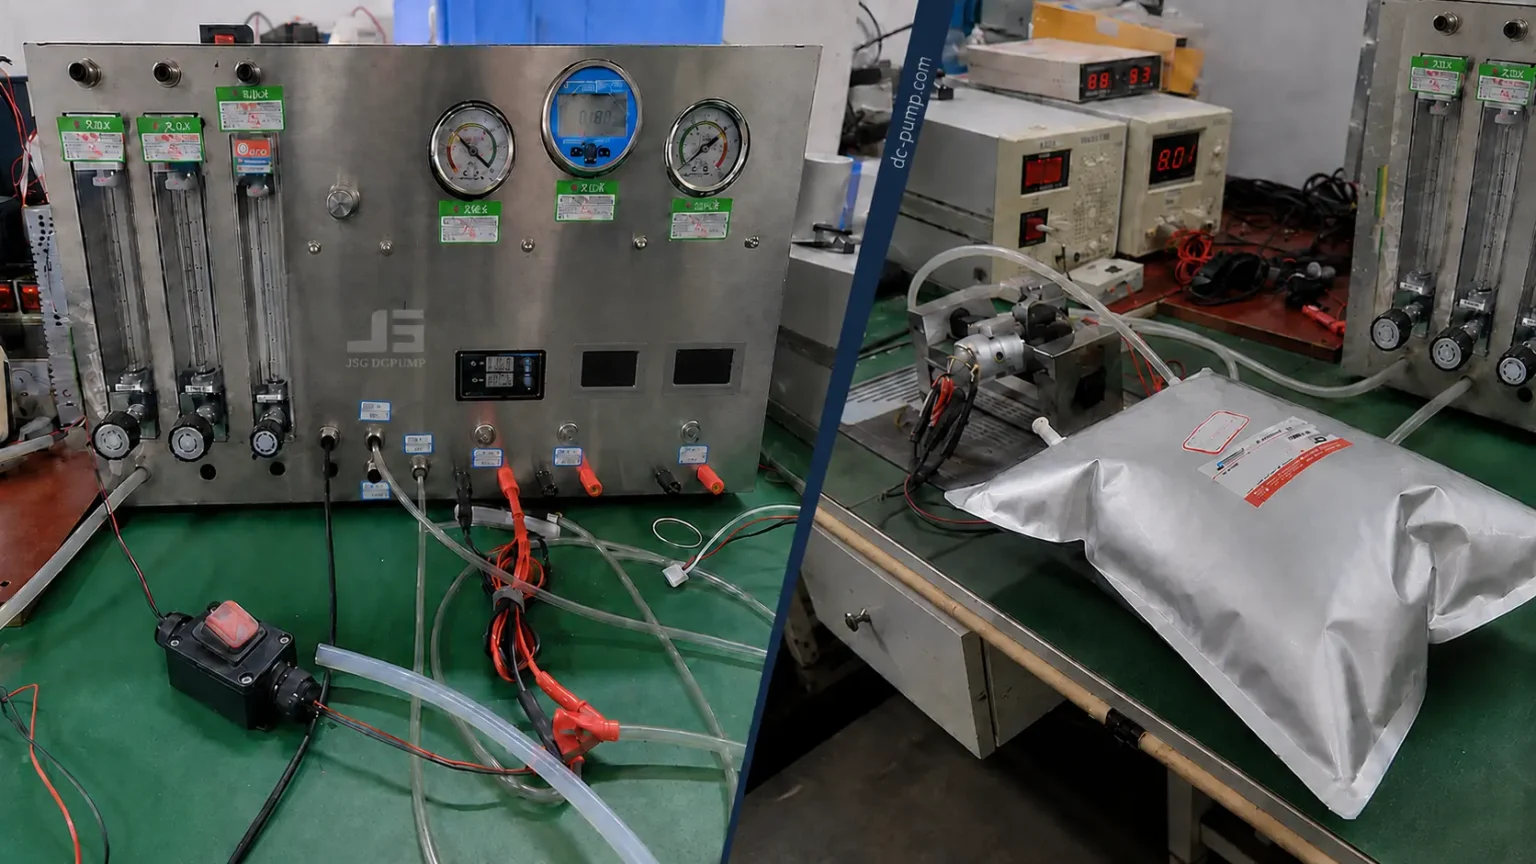
| 3. Test circuit | Tubing, filters, valves, reservoir, sensor positions, supply and mounting. | Is the setup representative and repeatable? |
| 4. Time and cycles | Powered run time, off time, cycle count, interruptions and measurement intervals. | Does the reported duration mean elapsed time or actual time operating? |
| 5. Acceptance criteria | Agreed limits for flow change, leakage, current, temperature, restart and other relevant checks. | What specifically makes a sample pass or fail? |
| 6. Results by sample | Initial and final readings, intermediate observations, failures and any replacements. | Does a group summary conceal variation or a sample removed during the test? |
| 7. Traceability | Report revision, test date, operator/reviewer, instrument identification and relevant calibration records. | Can the results be traced to the sample, method and measurement records? |
Understand What Each Test Can Establish
Performance Test
Shows measured output at the stated operating points. Free flow, maximum pressure and ultimate vacuum are different endpoints. They should not be combined into a claimed duty point.
Leakage or Pressure Check
Records behavior under a defined pressure, medium and hold time. A short pressure-hold result does not establish the pressure suitable for continuous pumping.
Temperature and Operating Cycle
Shows temperature behavior under the specified mounting, ventilation, ambient conditions and cycle. Check sensor location and whether the readings had stabilized.
Endurance or Life Test
Records changes and failures over a stated exposure. Look for the number of samples, operating conditions and failure definition. A short aging run is not automatically a service-life rating.
Three Common Misreadings
Elapsed time is not powered run time
A start and finish date gives the duration of the test window. It does not reveal time spent stopped, being inspected or waiting. For an intermittent test, record both operating time and the number of starts.
Surviving a test is not the same as reaching end of life
If a sample is still working when a timed test ends, its eventual failure time remains unknown. NIST describes this situation as censored life-test data. Report the observed exposure and the number of failures; do not turn a no-failure observation into an unsupported lifetime claim. NIST: censoring in reliability tests.
A calibration label alone does not validate every reading
Review the instrument range, measurement setup and applicable calibration evidence. NIST explains that metrological traceability relates a measurement result to a reference through a documented calibration chain, with measurement uncertainty considered. NIST policy on metrological traceability.
Compare Suppliers on the Same Basis
Before comparing headline numbers, place both reports against one agreed requirement. Use the same medium, working pressure or vacuum, voltage, duty cycle and temperature range. Keep model revisions visible so that a motor or material change does not disappear inside a series name.
- Separate measured values from limits: distinguish actual readings, target requirements and catalogue endpoints.
- Compare like-for-like samples: record the exact motor, pump head, valves, diaphragm and control configuration where relevant.
- Keep the original results: a translated summary should retain the units, test conditions, exceptions and conclusion.
- Resolve discrepancies in writing: request a corrected report revision when the duration, sample count or units conflict.
For certification documents, use the separate certifications and quality-control guide. A performance test report, a material declaration and a compliance document answer different questions.
Request the Right Evidence for Your Project
Send the selected pump model or candidate specification, medium, flow at pressure or vacuum, supply voltage, operating cycle, ambient conditions and the decision you need to make. Identify the requested test and acceptance criteria. This makes it easier to check which records are applicable and where additional validation is needed.
Full model-specific documents should be reviewed with their scope and revision intact. Customer project files, signatures and confidential drawings do not need to be published on a website to support a technical discussion.
Before Samples
Define what the equipment needs and which pump platform to evaluate.
During Validation
Record the setup, working point and agreed acceptance criteria.
Supplier Assessment
Combine technical documents with factory information and purchasing feedback.
Discuss Your Pump and Test Requirements
Tell JSGDCPUMP which configuration you are considering and what your equipment must achieve. Ask for applicable records or discuss a test plan for the intended working conditions.
